How to properly maintain your suspension lift kit
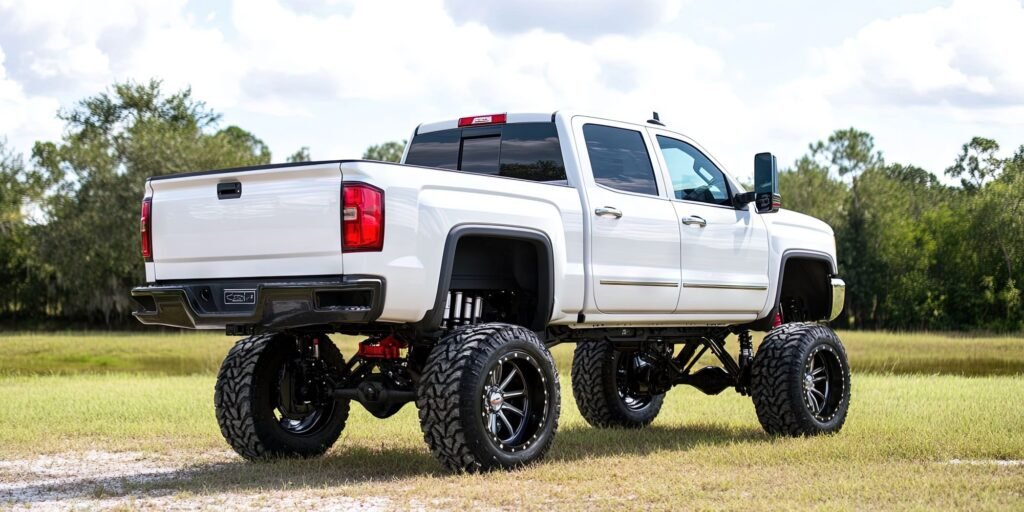
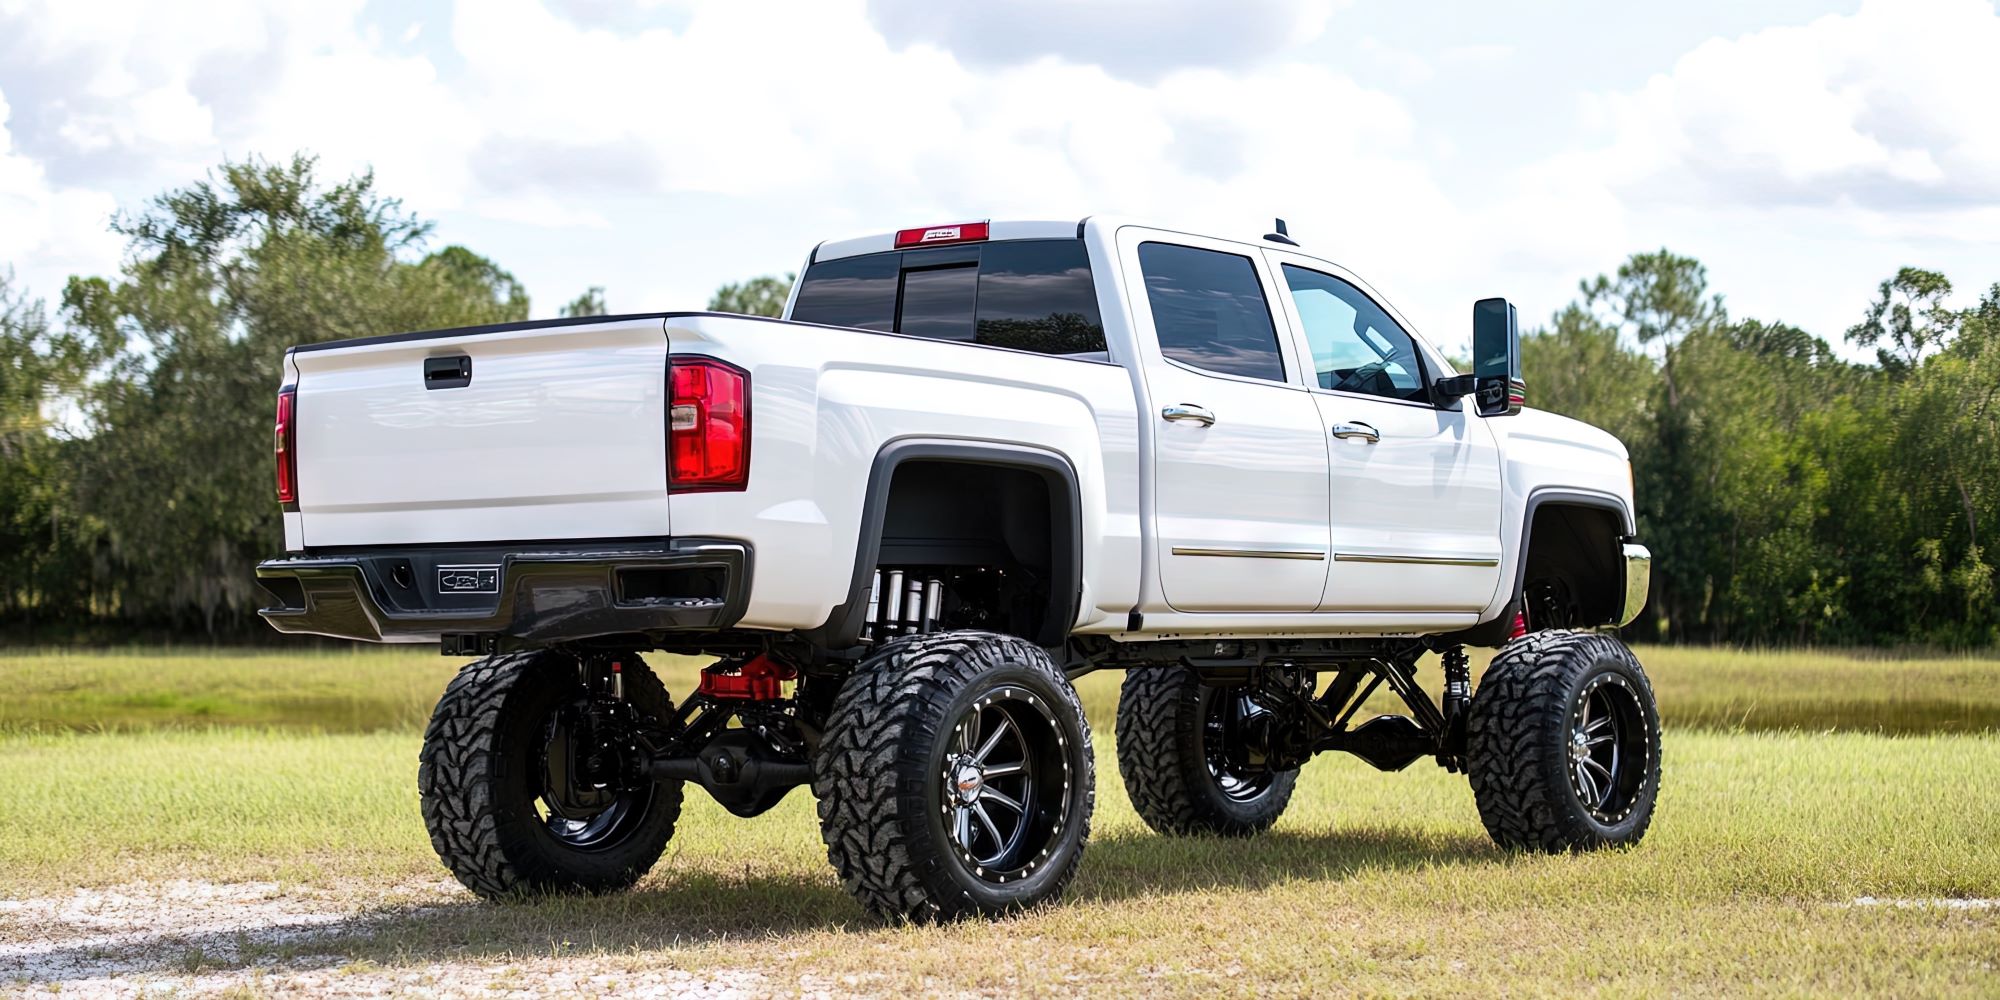
You’ve invested in a suspension lift kit to give your truck or SUV that commanding presence, improved off-road capability, or simply the aggressive look you love. But installing it is just the first step. Like any critical vehicle system, especially one modifying factory geometry, you need to properly maintain suspension lift kit components to ensure safety, performance, and longevity.

Neglecting lift kit maintenance can lead to poor handling, premature wear of components (including tires!), uncomfortable ride quality, and potentially dangerous failures. Fortunately, keeping your lifted suspension in top shape isn’t overly complicated.
This guide will walk you through the essential steps to properly maintain suspension lift kit systems, helping you protect your investment and enjoy your modified ride safely for years to come.
Why is Lift Kit Maintenance So Important?
Lift kits alter your vehicle’s suspension geometry, center of gravity, and the angles at which drivetrain components operate. This puts different stresses on parts compared to the stock setup. Regular maintenance helps:
Ensure Safety: Catching loose bolts or worn parts prevents potential failures.
Maximize Lifespan: Proper care extends the life of lift kit components and related parts (like ball joints, tie rods, and tires).
Maintain Performance: Keeps your vehicle handling predictably on and off-road.
Preserve Ride Quality: Prevents issues that can lead to vibrations, clunks, or a harsh ride.
Protect Your Investment: Regular checks safeguard the lift kit itself and prevent costly collateral damage.
Your Lift Kit Maintenance Checklist:
Follow these steps regularly – the frequency depends on your driving habits (more often if you off-road frequently), but a check every few thousand miles or with every oil change is a good starting point. Always consult your specific lift kit manufacturer’s recommendations as well.
1. Visual Inspection: The Walk-Around
Get under your vehicle (safely, using jack stands if necessary) and look closely at all lift kit components and related suspension parts. Check for:
Obvious Damage: Look for bent, cracked, or dented components (control arms, track bars, springs, shock bodies).
Worn Bushings: Inspect rubber or polyurethane bushings for cracks, excessive wear, or deformation. Worn bushings can cause clunks and poor handling.
Shock Absorber Leaks: Check shock bodies for any signs of fluid leakage. A leaking shock is ineffective and needs replacement.
Spring Condition: Look for cracked or sagging coil springs or leaf springs.
Hardware: Ensure all nuts and bolts are present and appear tight (you’ll check torque next).
Tire Wear: Check for unusual tire wear patterns (like cupping or excessive edge wear), which can indicate alignment issues often related to lifted suspensions.
2. Torque Checks: Crucial for Safety
Lift kits involve many critical fasteners. Vibrations and suspension cycling can cause bolts to loosen over time. This is perhaps the most important step when you maintain suspension lift kit integrity.
Use a Torque Wrench: Don’t just guess or use a regular wrench. Look up the specific torque specifications provided by your lift kit manufacturer for every fastener (control arm bolts, track bar bolts, U-bolts, shock mounts, etc.).
Check Regularly: Check torque specs shortly after installation (e.g., after 100 miles and 500 miles) and then at regular maintenance intervals. Pay extra attention after heavy off-road use.
Follow Sequence (If Applicable): Some components, like U-bolts, may require a specific tightening sequence.
3. Lubrication: Keep Things Moving Smoothly
Many lift kit components have grease fittings (zerks) to allow for lubrication, reducing friction and wear.
Identify Grease Points: Locate all zerks on components like control arms, track bars, ball joints, and sway bar links (if applicable to your kit).
Use Quality Grease: Use a high-quality chassis grease recommended by your kit manufacturer or suitable for automotive suspension use.
Grease Regularly: Clean the zerk fitting and pump grease until you see fresh grease emerge or feel slight resistance. Don’t over-grease to the point of blowing out seals.
4. Cleaning: More Than Just Looks
Keeping your suspension components clean, especially after off-roading, helps prevent corrosion and makes inspections easier. Mud and debris can hide potential problems and accelerate wear.
Rinse Thoroughly: Use a pressure washer (carefully, avoiding direct blasts on seals) or hose to remove mud, dirt, and road grime.
Check for Corrosion: Pay attention to any signs of rust, especially on hardware and welds.
5. Wheel Alignment: A Must-Do
Installing a lift kit always changes your vehicle’s alignment angles (caster, camber, toe).
Get an Alignment Post-Installation: A professional alignment is essential immediately after installing the lift kit.
Regular Alignment Checks: Due to the altered geometry and potentially harder use, lifted vehicles benefit from more frequent alignment checks than stock vehicles (e.g., every 6 months or 6,000 miles, or after significant off-road trips). Proper alignment prevents tire wear and ensures good handling.
6. Shock Absorber Care
Besides checking for leaks (Step 1), monitor shock performance. If your ride becomes overly bouncy, bottoms out easily, or feels uncontrolled, your shocks may be worn out, even if not visibly leaking.
When to Seek Professional Help
While much of this maintenance can be done by a careful owner, don’t hesitate to visit a qualified mechanic or off-road shop if:
You’re uncomfortable performing torque checks or lubrication.
You notice significant damage or wear.
Your vehicle develops persistent clunks, vibrations, or handling problems.
You need a wheel alignment.
Conclusion: Protect Your Lifted Ride
Properly maintaining your suspension lift kit is non-negotiable for safety, performance, and longevity. Regular inspections, torque checks, lubrication, and alignments are key. By dedicating a little time to these checks, you ensure your lifted vehicle remains reliable and enjoyable, whether you’re cruising down the highway or tackling tough trails. Keep up with the maintenance, and your lift kit will keep serving you well.
Do you have any other lift kit maintenance tips? Share them in the comments below!
